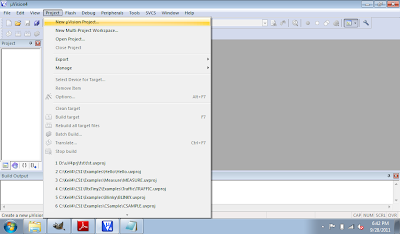
- New a uVision Project in uVision 4 IDE.
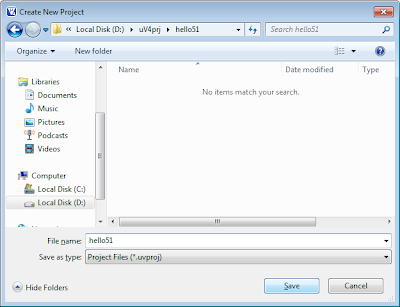
- Select project location and file name.
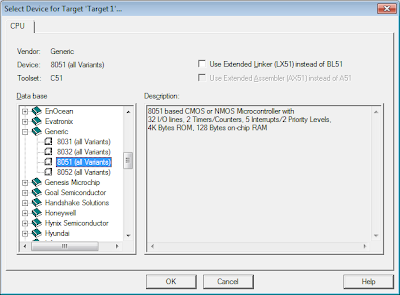
- Select 8051 (all Variants) under Generic in Data base, and click OK.
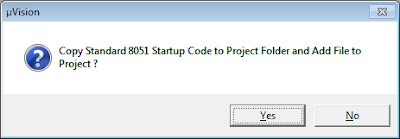
- Accept Copy Standard 8051 Startup Code to Project Folder and Add File to Project. The IDE will copy STARTUP.A51 file for you.
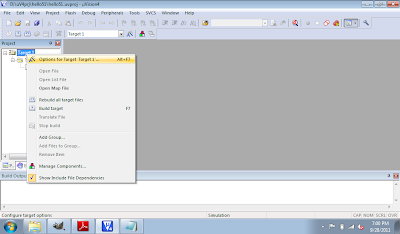
- Right click th project "Target1" and select Options for Target 'Target1'...
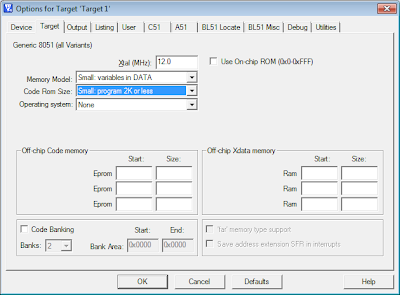
- Select Small Memory Model and Small Code Rom Size, and click OK.
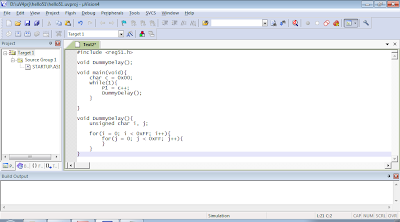
- Click File -> New... to creat your main.c
- Type in the program, and save it as main.c.
#include <reg51.h>

void DummyDelay();

void main(void){
 char c = 0x00;
 while(1){
  P1 = c++;
  DummyDelay();
 }

}

void DummyDelay(){
 unsigned char i, j;

 for(i = 0; i < 0xFF; i++){
  for(j = 0; j < 0xFF; j++){
  }
 }
}
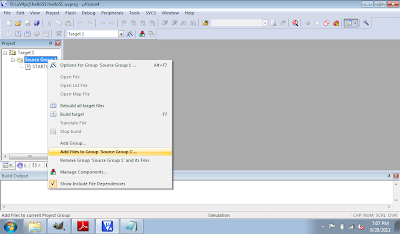
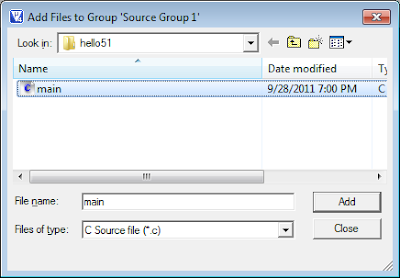
- Right click Source Group 1 under Target1 in Project, and Add Files to Group 'Source Group 1'...
- Browse to select the main.c just created.
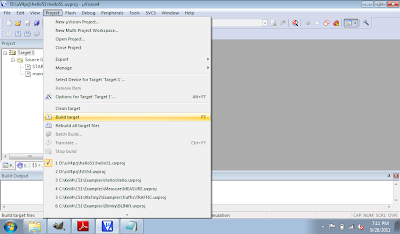
- Click Project to Build Target.
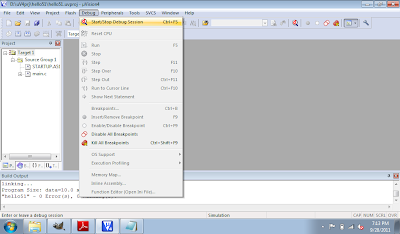
- After finished without Errors. Click Debug and Start/Stop Debug Session.
- Click Peripherals -> I/O - Ports -> Port 1 to open the Parallel Port 1 monitor window.
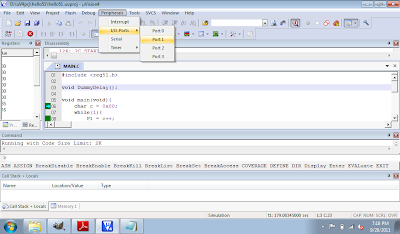
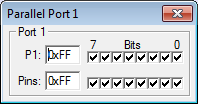
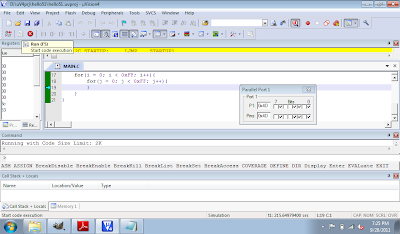
- Finally click on the Run icon, or F5, to run the program in simulated mode. You can see the Port 1 Bits in Parallel Port 1 monitor change while the program running.
- Click Debug and Start/Stop Debug Session, or Ctrl-F5 to exit and back to edit mode.
No comments:
Post a Comment